While researching bending methods for a counter-top wine rack I am designing, I came across this excellent post on JoeWoodworker.com. I found the author's real-world expertise informative, as he describes a few tricks of the trade I haven't seen elsewhere. If you want to bend wood with a vacuum bag, check this site.
The site also offers plans and materials for building your own vacuum press. These are relatively sophisticated systems and there are many options and parameters to consider. Take a deep dive into vacuum press FAQs here.
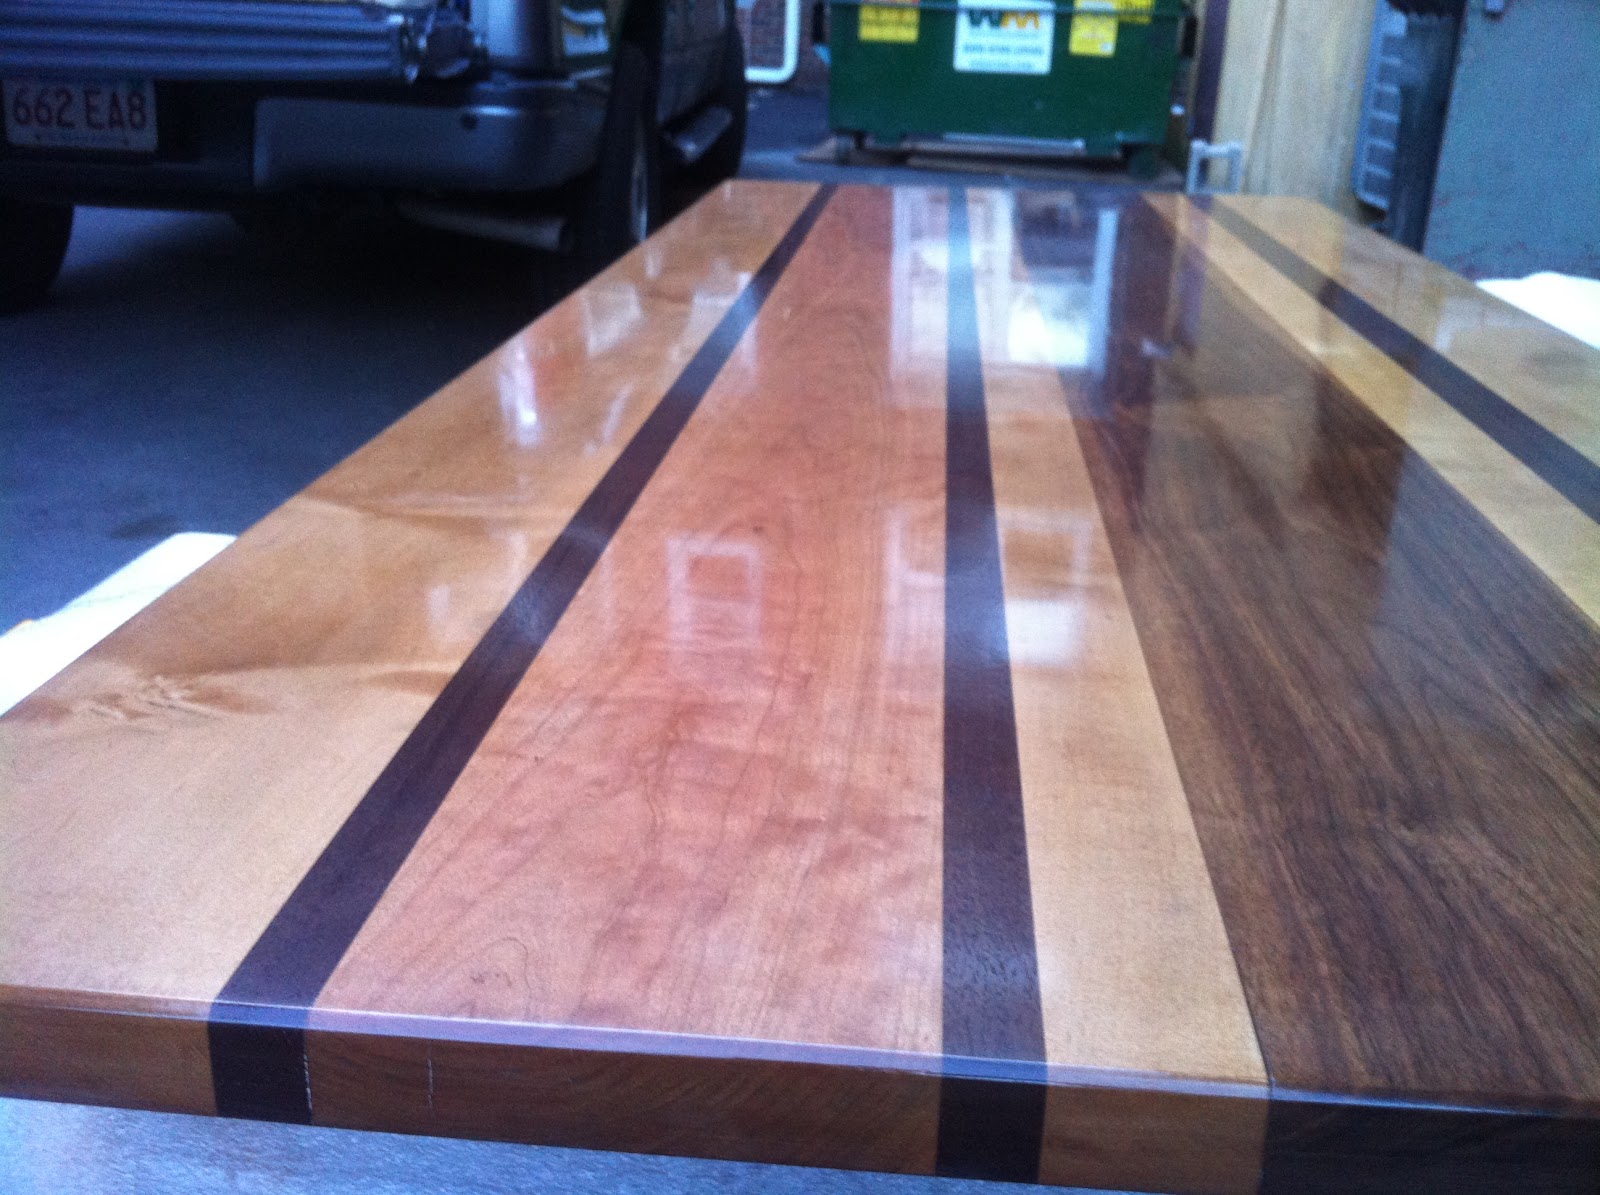
...And stay tuned for pics of my new "Wine Wave" counter-top wine rack!
Saturday, December 31, 2011
Tuesday, December 13, 2011
CS Machinery: A source for pattern-maker's and Tucker vises
While looking for a power stock feeder on eBay, I came across a great source for the highly sought-after (and out of production) Emmert Vise. CS Machinery is run by Bill Kerfoot, and is located in Oxford, PA, not far from Philly, NYC, and Charm City. They have an incredible number of antique vises and vise parts, especially Tucker vises and pattern-maker's vises. I wrote Bill an email with a question about how to use a stock feeder on a table saw. He was very helpful and knowledgeable, which is not always the case with owners of machinery stores. I imagine Bill knows quite a bit about vises of all types, so if you're looking for a vise, why not give CS Machinery a try?
210 Lower Hopewell Rd
Oxford, PA 19363
Phone: (610) 998-0544
Email: csmachinery@zoominternet.net
210 Lower Hopewell Rd
Oxford, PA 19363
Phone: (610) 998-0544
Email: csmachinery@zoominternet.net
Wednesday, December 7, 2011
Russ Fairfield's Woodturner's Blog
While looking for information on turning (in preparation for using my new Lathe), I came across this excellent resource
Tuesday, November 29, 2011
QR Code for business cards?
A business development consultant advised me to add a QR code to my new business card, so that people could quickly navigate to my blog or website through their camera phone. It's an interesting idea, though I wonder
Monday, November 28, 2011
Vicco Von Voss: Mastering Fine Furniture
 |
| Vicco and Jacqui's timberframed home |


See more of Vicco's work at the Massoni Gallery Website.
Achieving truly fine furniture is as much about talent and experience as it is about relationships.
On a recent return home to Baltimore, Maryland, for Thanksgiving, we got the chance to visit with our friends Jacqui and Vicco Von Voss, who live and work in Centerville on the Eastern Shore. Jacqui and Vicco live in idyllic splendor amid vast forests of maple, oak, and walnut trees. On their property are several structures Vicco built himself, including an award-winning timber-framed home and a large workshop where Vicco creates unique custom furniture of unparalleled quality.
My friendship with Vicco began only a few years ago, when I
Monday, November 21, 2011
What goes into a loudspeaker?
I have built a couple of loudspeakers in the past 18 months, but they were very simple affairs: one driver, no crossover, and an open baffle. But I aspire to make "real" speaker cabinets. I have a good book, the Loudspeaker Design Cookbook (LDC), but I am also looking for more inspiration, and more options. One challenge to speaker design, however, is matching the acoustical and mechanical properties of the drivers with the cabinet design. One solution, which I will likely use, is building a speaker according to plans, such as those in the LDC. The company Parts Express also sells speaker kits.
As for myself, I plan to build my own cabinets. But I am certainly tempted by the high-quality products available from Parts Express. Here's a video showing what goes into a basic 2-way loudspeaker. Interesting, no?
As for myself, I plan to build my own cabinets. But I am certainly tempted by the high-quality products available from Parts Express. Here's a video showing what goes into a basic 2-way loudspeaker. Interesting, no?
Saturday, November 19, 2011
Custom 120 Cabinet & Canopy

>>>> Click here for the photo album of the project, step-by-step <<<<
Monday, November 7, 2011
Building a Square Base Pyramid
when it came time to build a pyramid out of plywood, I found myself stumped. This seemingly simple task is made extremely complicated by the compound angles of the mitered edges of each panel in the pyramid.
I eventually created a truncated pyramid with trapezoidal sides with base angles of 22.5 degrees, and edge miter angles of 40.2 degrees each. I couldn't see any rhyme or reason to the relationship between these two angles, so I looked online.
This explanation is a pretty good one.
But then I found this calculator, which is even better! (no math). but alas, it doesn't show the angles between the sides.
THEN, I found this gem of a site: the Miter saw calculator website, with calculators for all kinds of compound miter cuts.
I used it to predict the angles on my NEXT pyramid. Now, If I could only find tools accurate enough to make the cuts...
Tuesday, November 1, 2011
My Review of Sketchup 8 Pro Solid Tools
I love Google's Sketchup software. I have used the free version, and I currently use version 7 Pro, which is now free on Sketchup's website. I have also tried the new version 8 Pro with Solid Tools. My only gripe is that making actual complete plans is difficult because it's hard to draw compound angled faces, or manipulate profiled extrusions. Sketchup isn't great at curves.
But the Solid Tools are a major improvement in Sketchup, especially for
Monday, October 31, 2011
My new lathe

He was also kind enough to give me a lathe he had lying around. The lathe is, of course, a unique tool that does things no other tool can do. Namely, a lathe spins a workpiece, allowing you to shape the work by holding a sturdy knife up to the spinning piece. It's a lot like how you would cut a decorative groove into a clay pot, spinning on the throwing wheel.
But a decent lathe
Change the size of many images at once with automator for OS X

As a woodworker who maintains a blog and a website, I deal with digital images and video more than I'd like to. Not that I mind showing off my work, and adding visual aids when describing a new technique, but I could do without the process of getting the images ready for the web.
The biggest hassle is changing the sizes. But now, after following the simple two-step directions from MacTips, all I do is open Automator and press go!
I don't know what's been holding me back. I guess I figured it would be hard to find directions on how to do exactly what I wanted. But finding the directions was as easy as googling "change image size automator os x". I can't wait to try another one.
Saturday, October 29, 2011
Skipton's 180 gallon aquarium cabinet
Finally! A post about the 180 gallon aquarium stand I made for Skipton's Unique Aquaria in Boston. I have posted previously about this cabinet, but until now I haven't had the chance to take decent pictures of it in the store. So here they are!
At the time, this cabinet was the best I'd ever made, from the design to the fit to the finish. It also taught me a lesson about materials and larger tanks:
Friday, October 28, 2011
DIY Tool Upgrade: adding a 3 h.p. Baldor motor to the Delta 14" Band Saw

Re-sawing allows you to make your own veneers and book-matched panels, which are so much more visually appealing than non book-matched panels, it's worth
Wednesday, October 26, 2011
Building a 120 gallon aquarium cabinet and canopy step by step: a photo album

If you ever wanted to see how something like this is made, take a peek at this Picasa Photo Album - "120 Mafia" (so named because the aquarium will house African cichlids...a "Mafia Tank"). Many of the pics include captions explaining the picture and what's being shown.
This particular build includes some innovations you won't see in many other cabinets, and information to help you incorporate these innovations into your own designs. I also address some of the common challenges in designing and building cabinets for large aquariums.
Tuesday, October 18, 2011
I dream of HackerCraft
For some reason, I have an urge to spend a lot more time on the sea. Along with that comes my desire to one day build my own boats. I know that boat building begins with simple row boats. But what I really want to build is a clone of a HackerCraft runabout. Gorgeous!
Monday, October 17, 2011
My second table for Five Horses Tavern is finished
 | |
| the second table |
 |
| the first table |
We shall see! I am excited because this is my first time making something for a commercial client, which will be on view by hundreds of people every day.
The second top also represents the first project I made with my new Robland X31. The X31's 12" jointer allowed me to use 12" wide boards in the glue-up. I found an amazing 13" wide walnut board for this purpose, and it gives the table an excellent warm feeling.

See the table at Five Horses Tavern, 400 Highland Ave., Somerville, MA.
 |
| glossy! |


Monday, October 10, 2011
Resawing Tips
I came across a .PDF article, "Tip #47 Resawing", by Nick Engler, while researching band saw blade speed. It's a great overview of re-sawing on the band saw. It has a good explanation of the different types of blades, plus a discussion of blade speed, something I am very interested in tweaking on my own band saw.
If you are interested in re-sawing, making veneers, or modifying your saw to be better at these tasks, I recommend reading this PDF.
If you are interested in re-sawing, making veneers, or modifying your saw to be better at these tasks, I recommend reading this PDF.
http://www.woodturnerruss.com
I came across this excellent web page about band saws while reading through a post on the Sawmill Creek forums. If you're looking for another experienced woodworker's "take" on bad saw best practice, take a look at this page. I found it interesting, especially since I happen to have acquired a 1.5 hp DC motor this past weekend...
New Baldor and Leeson motors: 2 hp, 3 hp, and 1.5 hp DC motors!!


I plan to use the gear motors for a wet grinder, and possibly a power feed. I may also use the DC motor for a power feed, since these motors can be run at any rpm in their range.

 I plan to use either the 2 horse or the 3 horse motor on my Delta 14" band saw, which has a riser block, and which I'd like to use for re-sawing.
Saturday, October 8, 2011
Festool Forum
There are a lot of good conversations on their forums. For example, this one describing how a Festool-centered woodworker made a large, 14-foot-long dining table: http://festoolownersgroup.com/fun-games-diversions/celebrate-7000-members-and-growing-with-the-%27show-us-your-shop-giveaway%27!/msg80118/#msg80118
Thursday, October 6, 2011
Making Bar Tables from solid oak

These tables were to be 2" thick, 28" square, and made from solid white oak.
Making these tables involved a few "firsts" for me:
45 gallon hex aquarium stand build

But, if you want to see a cabinet being made, click on these links:
here is a photo album of my recent 45 gallon hex stand and canopy build: https://picasaweb.google.com/isaacvw/HexagonCabinetCanopy?authuser=0&feat=directlink
For more info about this project visit my post at: http://idvwdesign.blogspot.com/2011/10/my-first-hexagonal-aquarium-cabinet.html
Wednesday, October 5, 2011
Dye another day: Hardwood table tops get pop with trans-tint dye

My first hexagonal aquarium cabinet & canopy
 I was recently commissioned to build a cabinet and canopy for a 45 gallon hexagonal aquarium. It was my first hexagonal cabinet, and it presented the unique challenges associated with 45 degree (rather than 90 degree) corners. In order to play-up the hexagonal shape of the cabinet, I made special tapered panels for the front doors. These panels, trapezoidal in shape, helped to give this burly cabinet a little height and lift. Of course, it also gets lift from being 36" from the floor to the bottom of the tank, which is my standard practice with aquarium cabinets (for some reason I never see anything else over 34", more commonly 30").
The cases for the cabinet and canopy are 100% solid cherry, except for the lid on the canopy, which is of cherry veneered plywood with a cherry hardwood edge.
Apart from the 45 degree corners, this was also my first time putting a hardwood edge on plywood using a miter lock bit to cut a glue-joint. The doors are my first non-symmetrical panels. This also represents my second attempt at making solid-wood raised panels.
Saturday, October 1, 2011
Wine Bars get improved wall bracket

I have been installing more Wine Bars in the past few weeks, and I'm happy to report that all of the installations are doing fine, and they look great! I have made one design improvement, however: I added a 1/16" thick sheet of fine cork to the back of the wall bracket, where the bracket meets the wall.
 This improvement is part of an ongoing pursuit of "heirloom quality" for all of Wine on Deck's products. While I have seen plenty of wall-mounted products, from mirrors to wine racks to shelves, I haven't seen many products that combine good looks with long-lasting mounting systems. I'm proud that the Wine Bar has achieved this difficult balance. But there is always more room for improvement. After all, heirloom quality might mean a product life of 150 years. But it could also mean a product that lasts for 1,000 years, or more. I strive for my creations to last as long as possible.
 Wednesday, September 28, 2011
Futon Repair: It's easy to fix the most common futon failures
 |
| ten-foot clamps: critical for fixing futons |
Have a broken futon frame? In this post I'll show you what kinds of problems are fixable, and I'll give you a couple of ways to figure out if your futon frame is prone to break again. CLICK "READ MORE" (BELOW) TO SEE THE FULL POST.
Futons: they're a cheap, efficient way to furnish a tiny living space, making them ubiquitous in the apartments of twenty-somethings. By age thirty, most of us are looking forward to the day we can afford to finally jettison this vestige of a lager-soaked youth. But in the midst of America's lost decade, the cost of purchasing a new couch or bed (or both!) might be prohibitive. And so, alas, many young people are hanging onto their futons, pressing them into service as the one and only couch in their living room.
For these people, bringing the futon out of the bedroom and into "prime time" means sprucing it up a bit. After a decade of hard use, most futon covers are irreparably stained, the pad itself is lumpy and hard, and the frame is loose, or - often - cracked. In the past few months, I've helped a few friends rehabilitate their futon frames, thereby saving them hundreds of dollars for a new couch.
Tuesday, September 27, 2011
Five Horses Tavern in Davis Square: A place to see my work

But Five Horses also has a big selection of nice wines, as well as a drink menu that includes the industry's favorite beverages. The bar has been busy ever since they opened at the beginning of the month.
A lot of people are coming in for dinner, too. I know that the management is putting a lot of work into the menu and the kitchen, so this must be paying off.
Right now, I have a dining table in Five Horses (see pic). And I'm about to start a second table, for the same dining room.
Why not head over to 400 Highland Ave. and check it out?
Friday, September 23, 2011
How to sharpen chisels and planes with sand paper
 As I get better at furniture making, I am beginning to use chisels and hand planes more often. Why? It's not only because I'm trying to learn expert techniques (like hand-chopping mortises or flattening a panel with hand planes). I'm also reaching for these woodworking mainstays more often because they're sharp.
One thing I've noticed about chisels and planes: almost everybody has one (or more), but few people use them. The reason is that, unlike many other tools, chisels and planes simply do not work if they're not sharp. Take a new hand plane out of the box and try to take a shaving, and you'll likely end up frustrated, wondering what the damn things are good for, anyway.
But if your chisels and planes are sharp, they become go-to tools that get used nearly every day. Sharp chisels and planes have taken my furniture to another level of quality, and fitting snug joints has become a lot easier.
Monday, September 12, 2011
could hollow wood tubes be a part of the next product from Wine on Deck?

Since I make wine racks, and I'm looking for a good design for a counter-top wine rack, I took a special interest when I became aware of the existence of wooden tubes.

Obviously, working with veneered wooden tubes will present challenges. One challenge in particular jumps out at me: drilling through a tube at an angle, or off-center. Once my samples arrive, I will begin exploring milling techniques, and I will report my findings here on the blog.
180 gallon peninsula stand at Skipton's Unique Aquaria
 Last month we installed a new 180 gallon peninsula stand in the middle of the showroom floor at Skipton's Unique Aquaria and Reptiles in Boston, MA. The stand will support a 180 gallon freshwater planted tank display, smack in the middle of the store.
 This stand was my first attempt at a rubbed polyurethane finish. It also features a custom molding I created with a couple of router profiles I have in my shop. I am happy with the finish, which is mostly blemish-free, and has a wonderful satin sheen. Those who have been following this blog will know that with this stand, I have achieved something I've been pursuing for a while: a good, clean black finish.
I also like the doors, which are full inset doors on soft-close hinges. The doors are frame-and-panel, with 1/2" plywood panels rabbetted on the back edge. The doors are still 100% flat and straight, in spite of the high humidity in Skipton's.
The stand is six feet long, two feet deep, and over three feet tall! As of this writing, the tank hasn't been installed on the stand yet, so I don't have any pics of the complete setup. When I do, I'll be sure to post them. Until then, here are a couple snapshots of the stand in Skipton's.
Thursday, September 8, 2011
A child's bookshelf in cherry

 Recently, a friend asked me to make a bookshelf for his daughter, who turned 3 a couple of weeks ago. It's the perfect height for a child, and has space for large picture books, as well as more grown-up chapter books. The design is one I like a lot, and I plan to refine it further in the future.
In fact, you may notice that the finished piece on the left is different from the raw piece on the right. The one on the right didn't seem quite right, so I built a second piece (with better proportions), which was definitely a step in the right direction!
Thursday, September 1, 2011
Festool Domino Joiner: Long-Term Performance Review
 I have owned and used the Festool Domino "biscuit" joiner for about a year now. I've used it in dozens of projects, employing nearly all of the Domino's features, fences, and tenon sizes. Now, a year on, it's time for a review of the product that many regard as the best biscuit joiner in the business. My overall verdict: the Domino is indeed an excellent tool for biscuit joinery, provided you know its shortcomings and foibles. If you aren't familiar with the Domino's quirks, however, you could be setting yourself up for some expensive disappointments.
This review looks at the individual features of the Domino, one by one. I think this is the easiest way to organize the review, and also makes it an easy reference while using your Domino. for each feature, I list the positives first, and the negatives second.
Click "Read More" for the rest of this post...
Friday, August 26, 2011
Best depth stop collar: plastic or set-screw?
 In furniture-making, drilling pilot holes to a certain depth is not uncommon. For worry-free and accurate work, it's nice to have a depth stop collar: something to stop the drill once it reaches the desired depth in the workpiece.
 So the question is: are all depth stop collars the same, and, if not, which is the best?
I am happy to report that the best functioning stop collar is also the least expensive. It's the plastic design, shown in this picture. You can get them at Woodcraft, Rockler, or Lee Valley, for about $6.
Now, when I was looking for a picture (and the name) of these handy devices, I came across a this entry on Toolmonger.com. I can tell you right now: the comments on Toolmonger are very negative regarding these depth collars. but I didn't find any of the negative comments to be true to my experience, and I have to wonder if many of the people who claimed to have used them really have, or whether they just bought them...and then traded "up" to metal collars assuming the bright red plastic ones are junk.
The truth is, these plastic collars are better than metal collars in a couple of ways: First, they don't have set screws to mar the cutting edge on your drills. Second, since they don't use set screws, you can set them anywhere on the drill and they won't slip. Metal collars with set screws often have the problem of the set screw getting bumped off the drill and into a gullet, and loosening the collar in the process.
I have been merciless with these collars, whereas with the metal collars I proceed gingerly because I don't want to bump the collar and loose the stopping action right when I need it. The plastic collars never move, no matter how hard you bash them against the work. Between the large and small sizes that came in the package I bought, they fit nearly any drill, including Kreg Pocket Hole Drills and Miller Dowel Stepped Drills.
My verdict: don't believe the hype, save your money (and your drill edges), and buy plastic.
The easy route to a mirror polish: where cars and credenzas meet
 Putting a good-looking, long-lasting finish on your furniture project can be an afterthought. Many of you probably wish you didn't have to think about finishing at all! This final sequence of steps is not woodworking, it's chemistry, and an exercise in patience, diligence, and attention to detail.
 Most carpenters think of applying the last coat of finish as the last step in finishing. But furniture makers know that the final coat of finish needs to be rubbed out before the finish is - er - finished.
 Rubbing out starts with fine sandpaper, and ends with polishing. Over the years, polishing has evolved alongside the evolution of water-borne finishes and automotive clear coats. New automotive finishes are meant to stay flexible, so they don't crack when plastic car parts bend. That's led to a convergence in formulations for both wood and automotive finishes. Things have gotten to the point that you can use automotive finishes on wood projects, and automotive polishing compounds work very well as rubbing compounds for most wood finishes, including water-borne, polyurethane, varnish, and lacquer.
 This table was rubbed out using 320 grit sand paper, then 400, 600, and 800, then rubbed with 0000 steel wool. Finally, I rubbed it with 3M fine scratch remover car polish. The result was a beautiful surface that took mere minutes to put on and wipe off.
Tuesday, August 23, 2011
A good use for the 5mm Festool Domino cutter - expansion slots
 The Festool Domino biscuit joiner has a rep as the best, most well thought-out biscuit joiner on the market. It even uses its own proprietary "domino" tenons rather than traditional biscuits. But the Domino isn't without its glitches. To wit: the 5mm cutter cuts mortises that are often too small for the 5mm "dominoes". In a year of using the Domino, and over the course of three packages of 5mm dominoes, I am still convinced that the 5mm tenon is the worst-fitting of all the sizes available, and also convinced that more than 30% of the 5mm dominoes in any given bag are too large for the mortise and have to be sanded back or baked in a microwave in order to fit.
 I have stopped trying to use the 5mm tenon in my projects. But I have found a use for the 5mm cutter: making slots for mounting cabinet tops to their cases, and table tops to their aprons. The slots are a great size for z-clips (see photo).
Friday, August 19, 2011
Oil-Based Beauty with General Water Borne Topcoats

This post shows how to bring out the deep figure in wood furniture using water-borne finishes, which are notorious for leaving wood dead and flat.
Introduction:
Water borne topcoat finishes - like Minwax Polycrylic and General Finishes Enduro-Var and Pre-Cat Urethane - are very popular among carpenters. There are many reasons to choose water-borne. For one, water borne finishes dry in about an hour, as opposed to traditional organic finishes (polyurethane, tung oil), which require 24 hours to cure. Water-borne finishes don't smell as bad as traditional finishes, the worst-smelling of which (lacquer) is very poisonous and explosive. Water-bornes aren't flammable, and they clean up with water instead of noxious organic solvents. Finally water-borne finishes have excellent resistance to heat, water, alcohol and other solvents, making them appropriate for high-wear applications.
But water-borne finishes are much less popular with fine furniture makers, for the simple reason that they just don't look as good as their oil or lacquer counterparts. Water-borne finishes don't bring out the depth and figure in wood at all: what you see before you lay down a water-borne is pretty much exactly what you'll see once the finish is dry (some brands have yellow dye to imitate the look of oil-based polyurethane, which changes the tint of finished wood). This is very different from solvent-based finishes like polyurethane, shellac, oil, and lacquer, all of which make wood "pop" with chatoyance, and show off the holographic shimmer inherent in many wood species.
Less expensive water borne finishes have poor clarity. When water-borne finishes first hit the market (before my time, in the 1980's), they all had a bluish cast to them...very unnatural! Nowadays, cheaper brands (like Minwax Polycrylic) have a yellow dye to combat the blue, but the cloudy, plastic look remains. More expensive (read: high-tech) new water-borne formulations are less cloudy. But even the very best water-bornes look flat and dull compared to traditional topcoats.
The best of both worlds:
But there is a way to get most of the benefits of traditional finishes, while avoiding the majority of the hassles of organic solvents. This method is the only water-borne one I'll use on my projects, and I happen to be using this method right now, on a table commission for a new pub opening soon in Davis Square, Cambridge.
Saturday, August 13, 2011
The Steinway Project
 |
| the Steinway Square Grand |
The piano itself is unlikely to ever be playable again, since it has been sitting in a barn in New Hampshire for the past decade or so. But otherwise it's in amazing condition. It has all of its parts: the main case of solid mahogany, cast iron soundboard, all the keys (with ivory veneer and real ebony), a super-flat 3-piece solid mahogany top, four fat, carved mahogany legs, mahogany pedal board, and a mahogany sheet music stand - carved with Steinway's twin serpent logo. All of the wood is in excellent shape, and so is the finish, including the Steinway decal over the keyboard.
My initial thought as that this one piano is too big to be made into a single piece of furniture. Also, whatever is made will be so big and bold that few private homes could accommodate it. I wonder if this collection is destined for a bar, restaurant, or nightclub. Using the gorgeous sound board is another challenge: should I take the easy route and put the sound board under a glass table top, or be more adventurous? Perhaps the sound board could be made into a chandelier of some kind, to hang over a table made from the main body of the piano. I am also thinking of making a tall, slender cabinet, and turning the keys into handles and hinges for the cabinet doors.
Of course, the legs are an altogether different challenge.
Take a look at the pictures, and tell me what you think I should do! (click "read more" below to see the pics).
Sunday, August 7, 2011
The Fluval Nano Stand arrives at Skipton Unique Aquaria
It was a sunny Saturday morning yesterday, when I carefully packed my just-finished "Nano" aquarium stand, in solid cherry and purple heart. The stand is small, tall, and finished in tung oil. The frame-and-panel case features solid wood panels I planed and raised myself, and adjustable shelves. The Nano stand will take its place on display next to the checkout counter at Skipton's, which is located in Boston, Massachusetts. Atop the stand will go a Fluval Nano aquarium, in which the staff at Skipton plan to rear exotic marine shrimp.
Here are pics of the stand inside Skipton, with an empty Nano aquarium on top:


Here are pics of the stand inside Skipton, with an empty Nano aquarium on top:


Subscribe to:
Comments (Atom)