 |
| Right: sanded flat to 220; Left: rubbed with pumice & oil |
Some of you may recognize the two table tops in the image at the head of this blog. I made them two months ago from offcuts from the production of Wine Wings for Wine on Deck, the business I run out of my shop. The resulting table tops have a lot of potential. But as a novice, they necessarily became my test pieces for a variety of finishing experiments. It was only after I read Dresdner's book that I was able to string all the steps together from start to finish, and end up with a good degree of success.
The table tops also allow me to experiment with aesthetics, and the interplay between the top of the table and its supports - e.g. legs.
How I did It:
I followed Dresdner's advice 80% of the time. First, I stripped one of the tops with a chemical stripper (I had a disastrous lacquer finish sitting on one top). Then I sanded both tops to P220 using my Festool 6" orbital sander.
Next, I rubbed on dewaxed shellac with a cotton rag, balled up in my hand. I went over the piece a couple of times, putting on a layer of shellac that was perhaps too thick. The thickness was both likely the cause of, and my solution to, a basic technique problem I am still practicing. The layer was uneven, but I let it dry for a few days before sanding it back to almost flat with P220 grit paper (why not totally flat? I'm a stubborn, lazy, idiot some times).
Then, unlike my previous attempt which was very complicated, I put on a coat of Behlen's Rock Hard Table Top Varnish, which was also to be my topcoat. I let that dry, then sanded again to 220, then painted on another coat of the varnish. Then, a few days later, I repeated for a third coat. Each time, bubbles formed in the varnish, and dust settled on top. But Dresdner let me know this was normal, and no finish will ever be dust free.
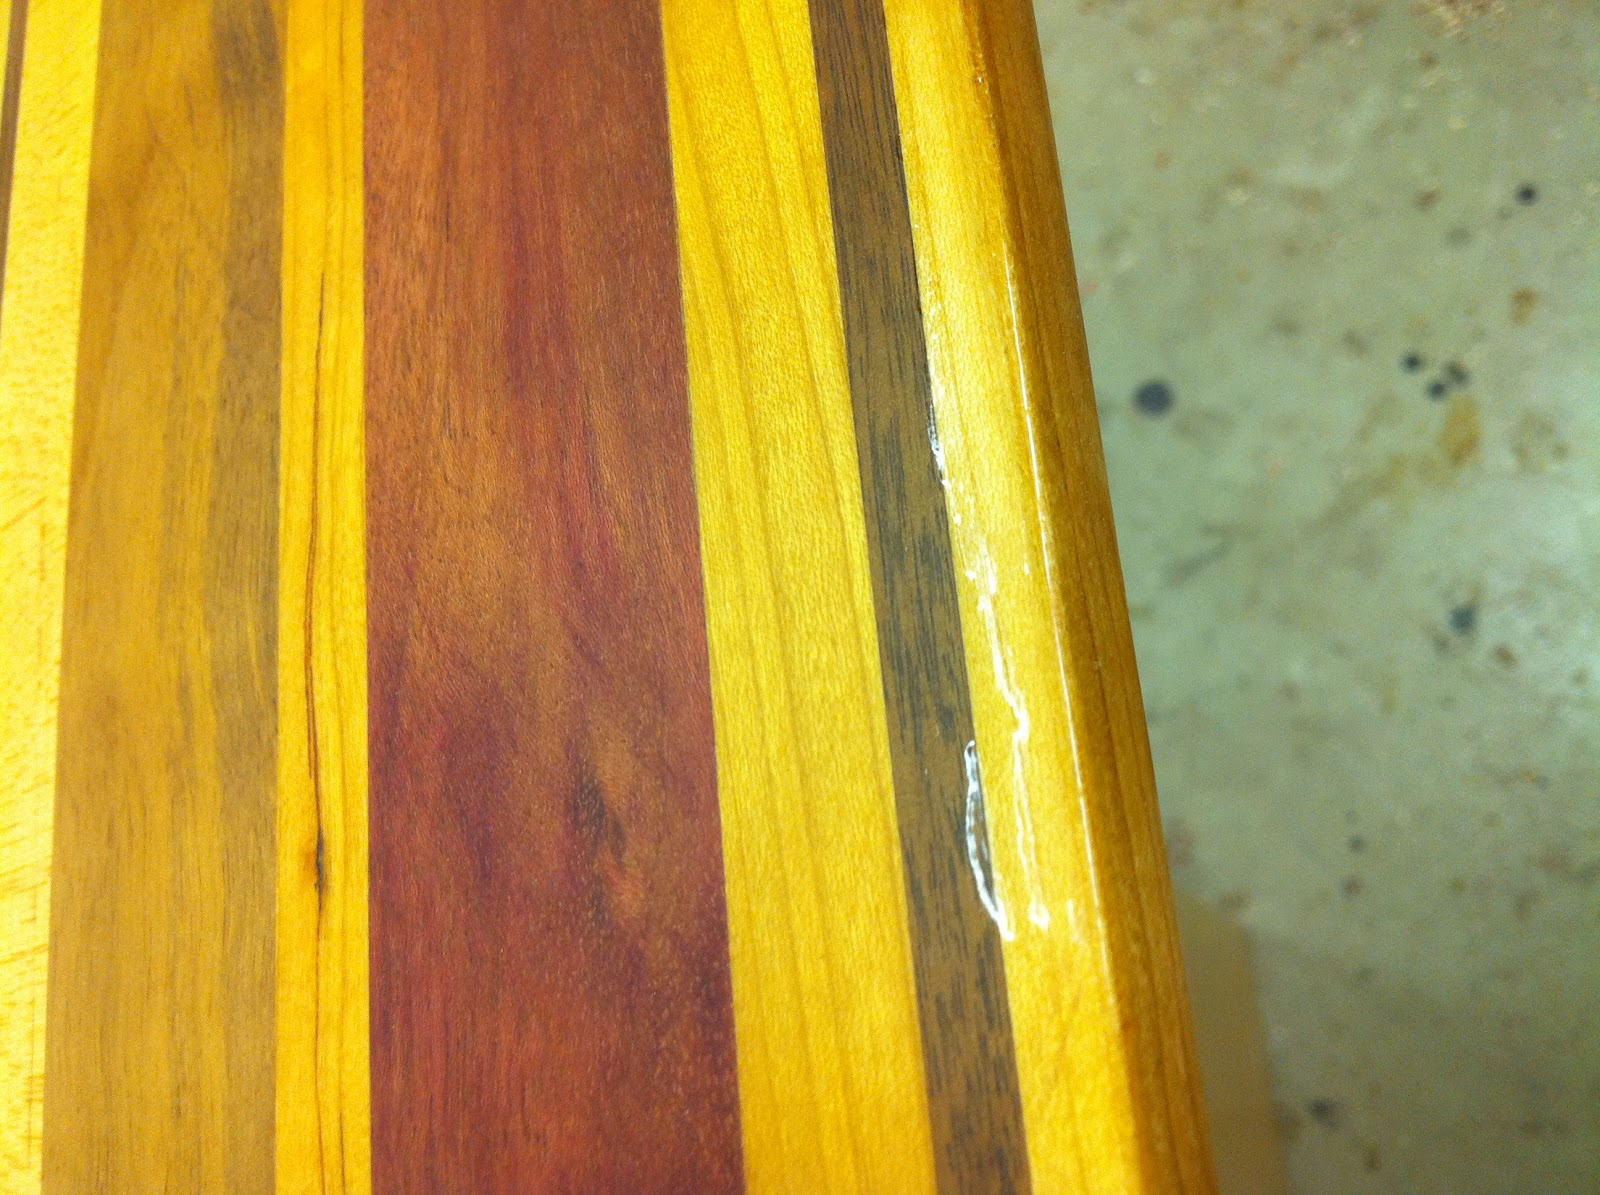
Rubbing out starts with sanding the top coat flat with 220 or 320 sand paper. I did that, and happily avoided cutting through my varnish to the wood. What was left after flattening were two milky-white table tops, with a few shiny spots. The shiny spots are places where the varnish is lower than everything else, and was un-sanded. I knew these spots would end up visible on my final piece, but it was time to move on. I left them. The worst of them all is pictured at left.
Next, I sanded with 400-grit paper and mineral oil, then 600 grit, then FF Pumice (with oil). I used a buffing pad on the orbital power sander on low speed.

The end result was satisfying: a satin sheen on both tops, except where the shiny spots shone through, as expected. I figure these shiny spots will eventually be scratched out, or fill with dirt, as the finish wears, and hopefully disappear. Anyway they're small enough and I can't keep fiddling with the tables.
NEXT STEPS: LEGS
 I had already made a set of legs, pictured at right. But i don't like these legs, neither the colors nor the proportions. With the legs, I was interested in duplicating some very skinny legs I had seen in a book. But the end result, while strong enough to be used, could never stand up to children. I will use this leg/apron setup for one of the tops, and I'm trying to figure out what to use to support the second top.
Wow…outstanding service and products to meet our office needs. I Love all and the colors you choose are perfect. I want this furniture for my new house. Thanks a lot for sharing
ReplyDeletesmfurnitures