
Filling gaps is a regular part of making furniture. there are the inevitable gaps between joints, and sometimes even open knots or holes in an otherwise great piece of wood. What do we use to fill these gaps? There are gap fillers on the market, but I don't know what's in them. They come in a variety of colors, and I've used them a lot. But I don't want to buy a can of filler every time I need to fill a gap in a joint, and besides, the colors they come in are only approximate - they don't necessarily match the wood I'm using.
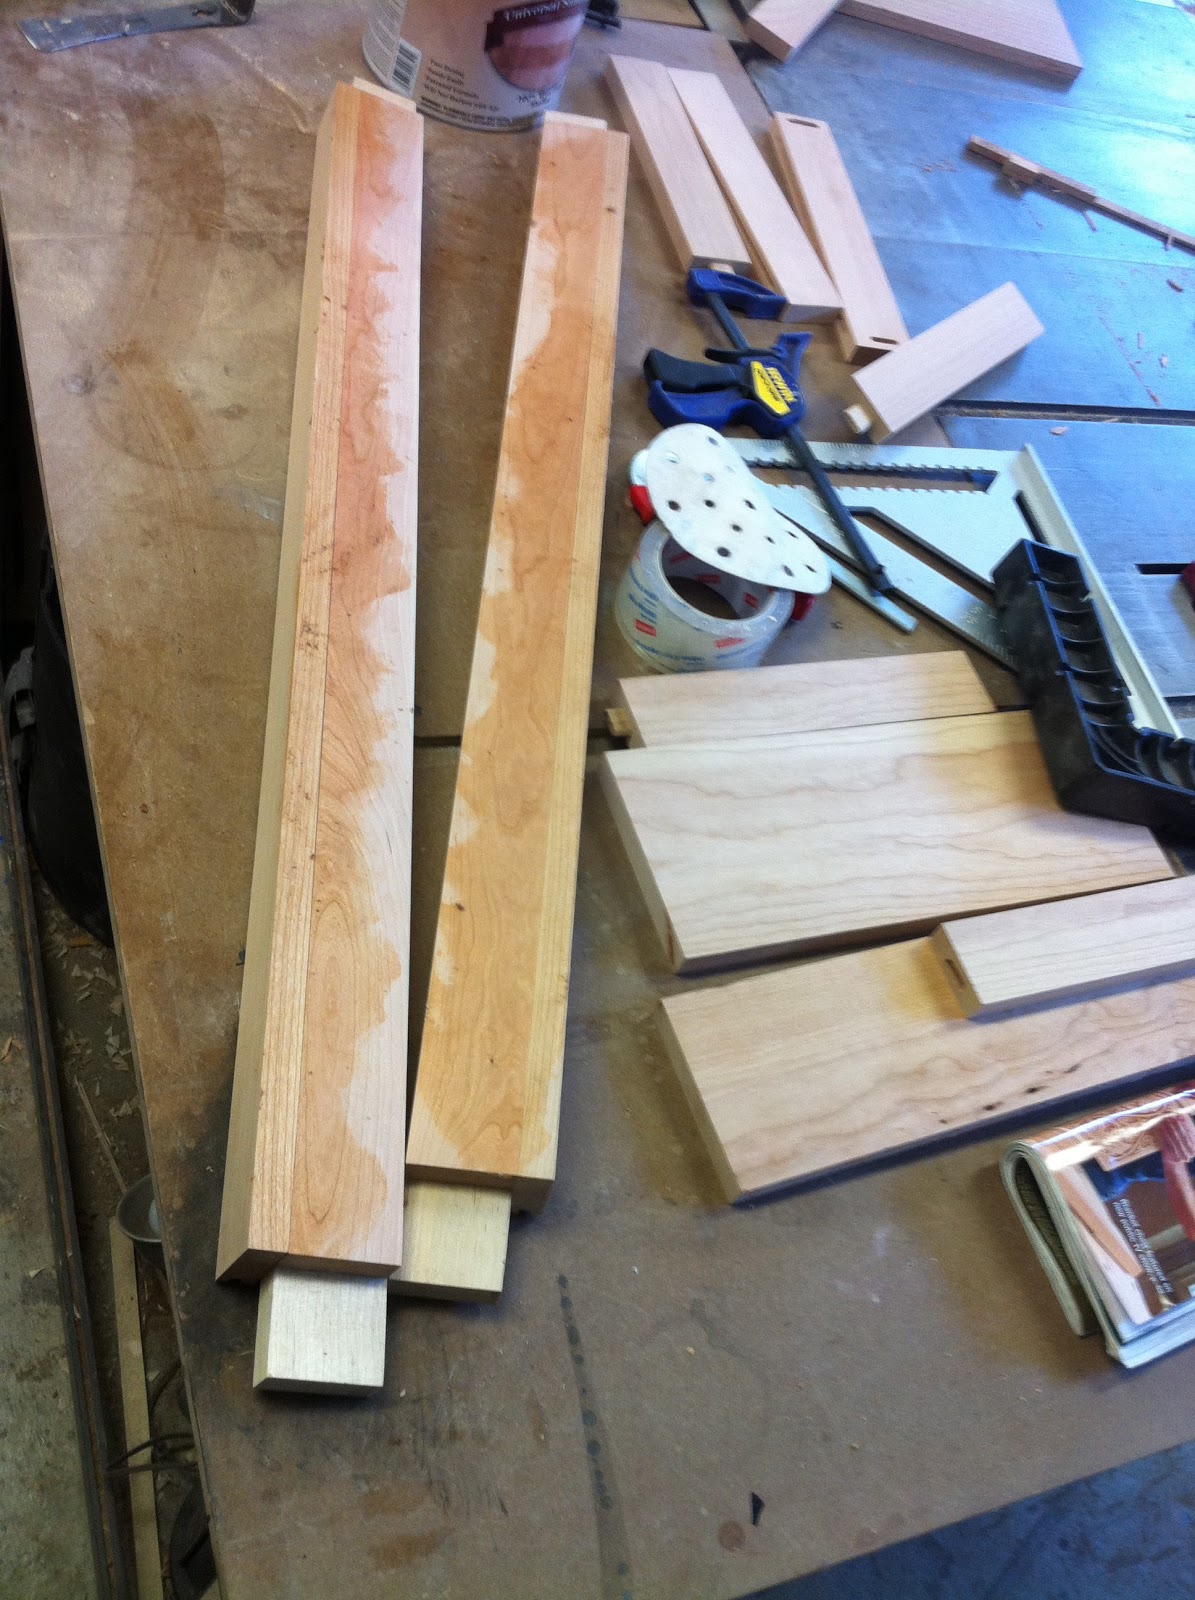
So today, when I needed to fill some gaps in a cherry cabinet I'm making, I decided to make my own filler. The process is easy, and similar in principle to filling pores in wood grain:
 |
| slurry on pad |
 |
| my dust source |
|
 |
| mixing the dust and shellac |
|
 |
| de-waxed shellac is a must |
|
 |
| the line is darker at first |
|
 |
| the line has almost disappeared |
|
 |
| once the varnish is on, the line disappears |
|
first, I took some sawdust from my drum sander, which I had just used to sand the panels of my cherry cabinet. I then mixed this dust with some 100% de-waxed shellac, forming a slurry. finally, I wet a cloth pad with the slurry, and packed the dust/shellac mix into the gaps I needed to fill. Before putting on the varnish, the packed gap is a little darker than the raw wood around it. But once the varnish goes on, the color match is almost perfect.
 Filling gaps is a regular part of making furniture. there are the inevitable gaps between joints, and sometimes even open knots or holes in an otherwise great piece of wood. What do we use to fill these gaps? There are gap fillers on the market, but I don't know what's in them. They come in a variety of colors, and I've used them a lot. But I don't want to buy a can of filler every time I need to fill a gap in a joint, and besides, the colors they come in are only approximate - they don't necessarily match the wood I'm using.


No comments:
Post a Comment