
 A friend of mine brought me this challenging job: re-building the case of a 4-drawer chest, which had been destroyed during a move. Since the drawers were intact, and complicated to build, my friend wanted to keep them, and only wanted the case rebuilt. This is backwards: usually drawers are made to fit the case. Nevertheless, I welcomed the challenge, the $$, and the chance to work with a new product I've been dying to try: bamboo plywood.
 I purchased 3/4" bamboo plywood from Cali Bamboo. In spite of the hefty freight fee, it was still cheaper than buying locally. Bamboo plywood isn't cheap, though: at just over $200/sheet, including shipping, mistakes with this material are expensive!
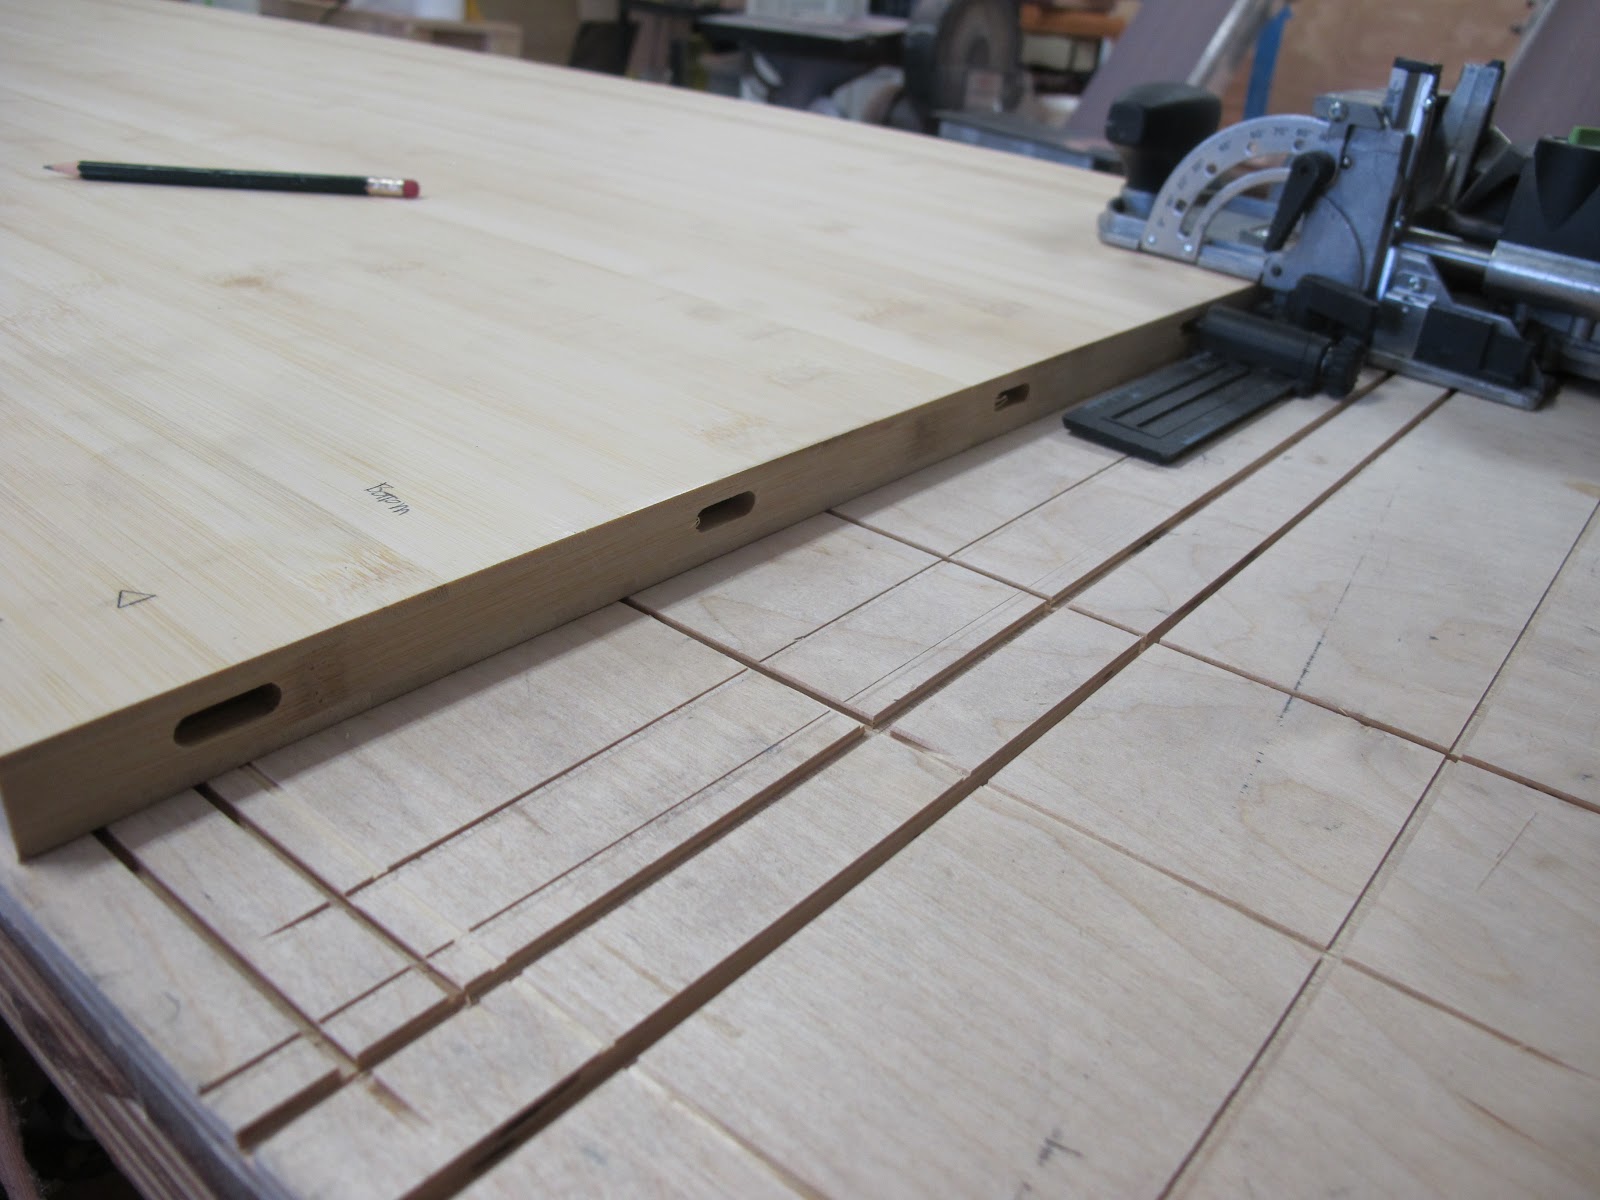 | |
| using the Domino mortiser |

Then, I used the original chest's gouged drawer dividers as templates to cut the 5/8" MDF I was going to use for my dividers. Why MDF? Well, the original's drawers were made with MDF, and the rest of the original case Including the original dividers) was made of fiberboard laminated with melamine. Since we were upgrading the outer case from fiberboard & melamine to Bamboo, but still working on a budget, I upgraded the fiberboard dividers to MDF, but not all the way to bamboo. As it turns out, 5/8" MDF isn't easy to find. If you're in Boston, try Boulter Plywood. The guys there are really nice (if in a hurry!), and they'll deliver, usually the same day. They charge $40 to deliver small orders, but it's well worth it.
The, using some 4-foot cabinet clamps, I assembled the bottom and side panels, and then fit each original drawer with its original runner and new divider. Of course, the dividers were too tall, and both the top and bottom panels too wide. But this way, I was able to account for the slight deviations in each drawer, stacking them together first, THEN cutting the case panels to final size.
 |
| the Festool TS75 plunge saw and track make laser-straight cuts |
Here you can see the dry assembly. From here, I plan to mark and then cut the case parts to proper size. A back piece, made of MDF and sized to the inner dimensions of the case, will be mortised-into the case panels, giving the whole thing extraordinary strength against racking.
 | |
| The view from the top rear - fitting assembly |
-isaac
No comments:
Post a Comment