 |
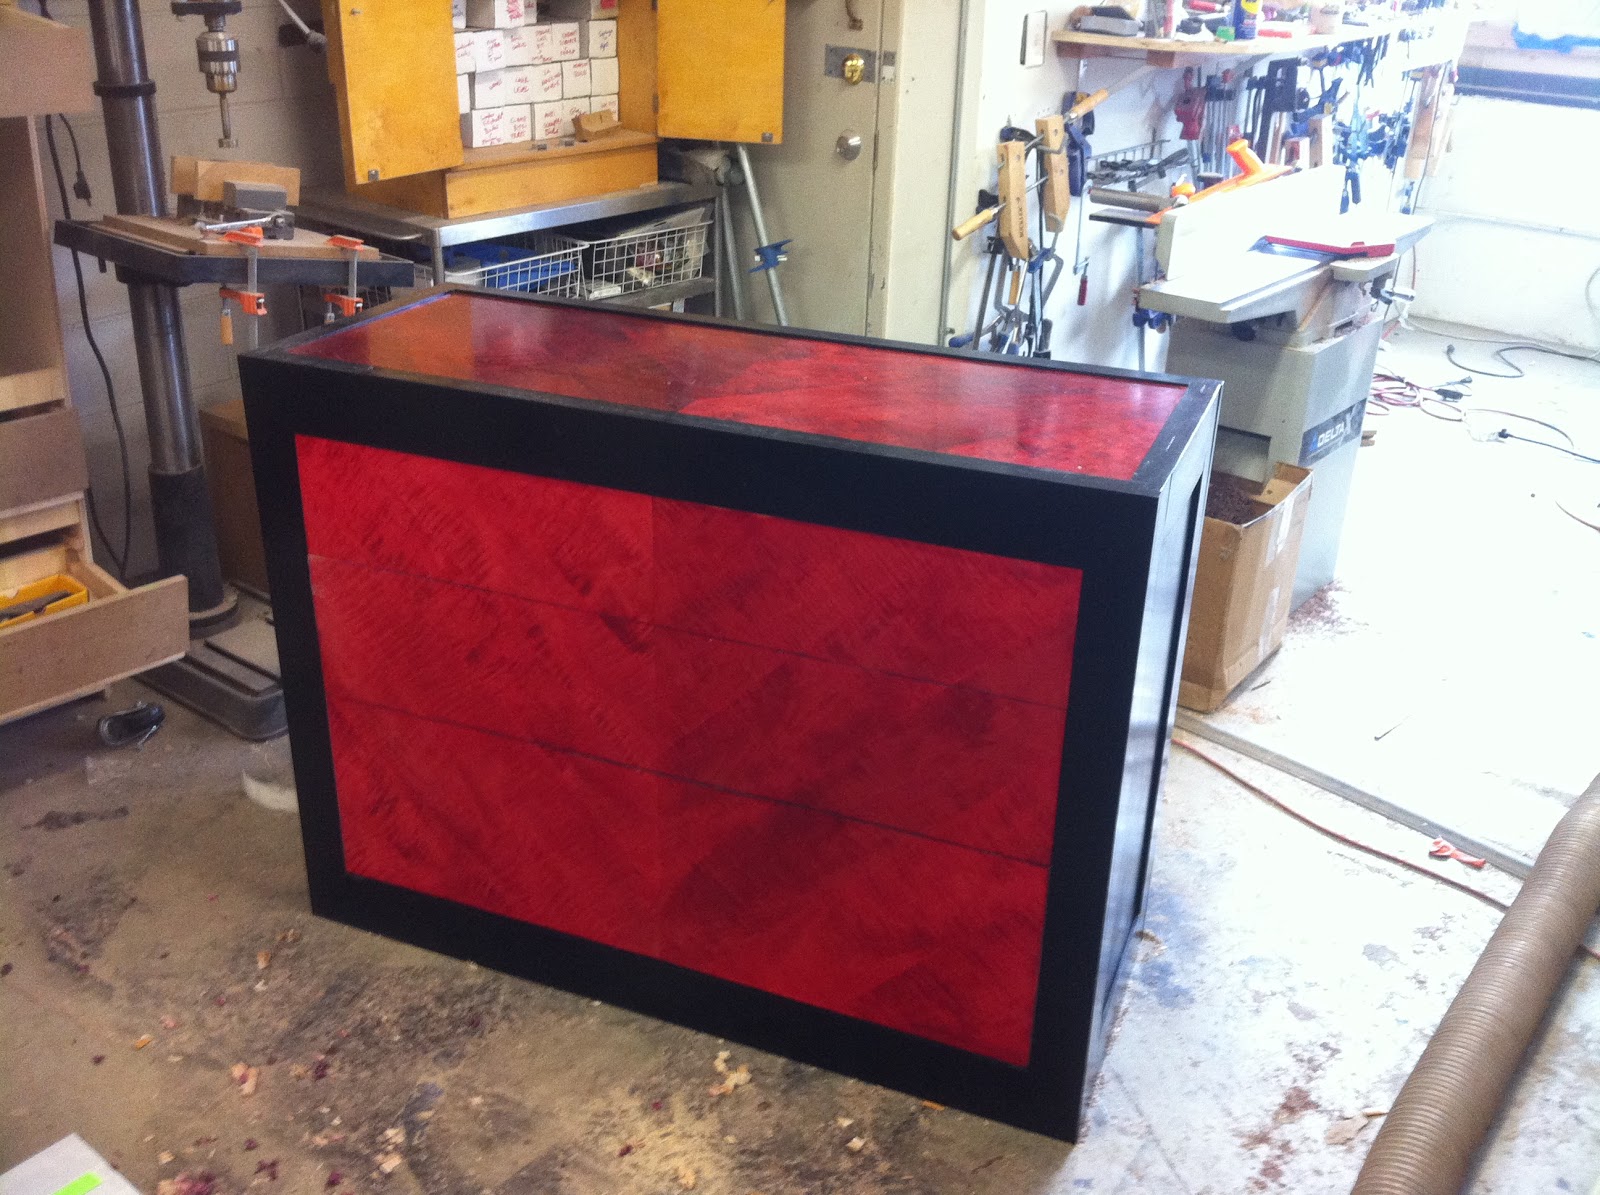
| A dyed chest. All it needs are feet and drawer pulls and I'm done! |
I still don't use stains, but I've changed my mind about dyes. Unlike stains, dyes penetrate the wood fibers rather than pack the pores with pigment. Dyes highlight the natural figure and chatoyancy in wood, and range in color from subtle browns and yellows, to intense reds, blues, and greens. Dyes are often used with highly figured, light-colored woods, most notably curly maple.
I use water-based dyes from Transtint, a company known for high-quality dyes that resist fading due to sun exposure, and have consistent color for repeatable results. For more information on Transtint dyes and information on how dyes can be used, try this site.
Applying Water-Based Dye
To apply dye to your workpiece, start with a surface that's sanded to 220 grit (or more), and free of blemishes. Dyes highlight all the little flaws and scratches you might have missed on a raw, unfinished workpiece.
To mix up a batch of dye, you either dilute liquid dye ( If you're using a pre-dissolved dye), or dissolve dye powder in water. There are alcohol based dyes, and dyes based on other organic solvents, but water based dyes are very flexible and easy to use, and not too bad for the planet.
Once you've mixed the dye according to the instructions, test your mix on a piece of scrap. Too strong a mix, and you'll get streaks on your workpiece. Too dilute a mix, and you'll have to soak the work to get the color you want. Soaking the work is not good: don't forget that wood expands and warps as it takes on water, so try and use the highest concentration of dye you can. To minimize warping of large panels, consider wetting the non-visible side of the piece with a similar amount of water as the side you are dying. If your work does warp as you apply the dye, remember that it will return to its original shape once the dye dries, provided you don't soak it.

Once you've covered the surface with dye, and the dye dries, you might be disappointed with the result. Don't be! Just-dyed wood looks dull. But once you knock down the fibers that were raised by the water in your dye mix, and finish the piece with a top coat, the dyed piece will pop like a precious stone.
To finish a dyed piece, the first step is to "lock & knock" the wood fibers that swelled and popped up during the application of the dye. They make the surface look and feel wooly, and they have to go if you want to bring out the figure in your piece. You can't get rid these hairs by sanding the bare surface or you'll sand through your dye. I like to brush on a layer of shellac, which dries hard pretty quickly, so I can sand and apply the top coat in the same day. The shellac makes the fibers brittle, in addition to sealing the wood and protecting the dye from my sand paper. I use 320 grit sand paper and a sanding block to knock down the fibers, and I go very lightly, taking only two or three gentle passes. Don't be too gentle: make sure the entire surface of your abrasive is contacting the work, or you'll have to go back and get the streaks, possibly sanding through the sealer in other spots.
Use a good, flat sanding block. Check out my post on sanding blocks for some ideas.
Top Coat
Once the shellac coat has been scuff sanded with 320 grit, you can finish the piece with your clear coat of choice. Polyurethane is a common choice and is also good looking with dyed wood. I would stay away from water borne products, which might wash out the figure of the wood. Remember: one of the reasons to choose dye in the first place is to bring out the figure in fancy woods like bees-wing mahogany and curly maple.
Good luck!
The finish is a warm and soft brown called Craftsman. Wood slats, exposed wood joints, and timeless metal hardware accent the Arts and Crafts collection that is constructed of oak solids and selected hardwoods with rift-cut quarter-sawn white oak veneers.Demir Leather
ReplyDelete